2JZ-GE engine
How to proceed with troubleshooting
Troubleshoot in accordance with the procedure on the following page.
Titles inside are titles of pages in this manual, with the page number indicated in the bottom portion. See the indicated pages for detailes explanations.
|
Vehicle Brought to Workshop
⇓
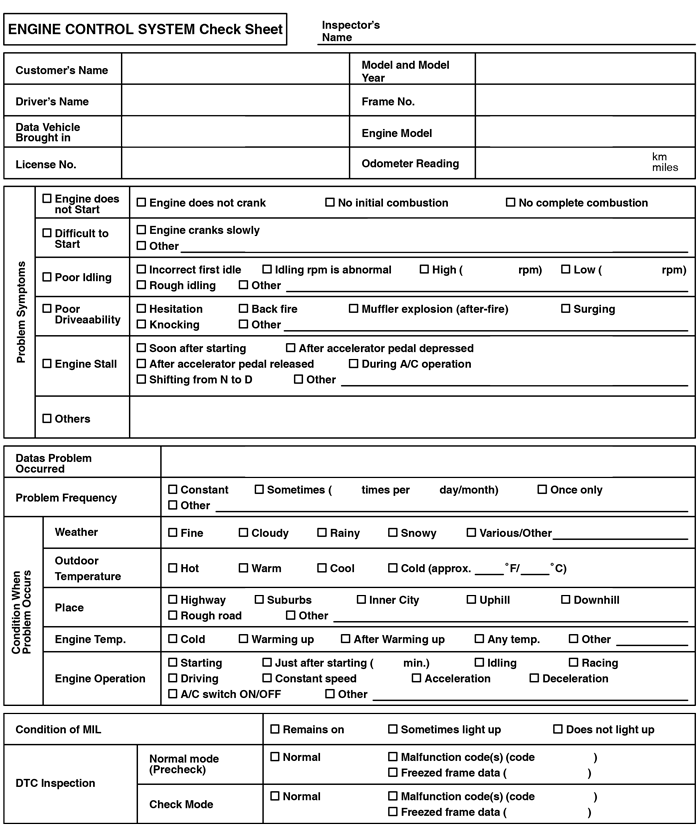
Customer Problem Analysis P. DI-2
⇓
Connect the OBD II scan tool or TOYOTA hand-held tester to DLC3 P. DI-3
⇓
If the display indicates a communication fault in the tool, inspect DLC3 P. DI-3
Check DTC and Freezed Frame Data (Precheck)
⇓
Record or Print DTC and Freezed Frame Data P. DI-3
Clear DTC and Freezed Frame Data P. DI-3
⇓
Visual Inspection
⇓
Setting the Check Mode Diagnosis P. DI-3
⇓
Problem Symptom Confirmation
If the engine does not start, perform steps 10 and 12 first |
|||
| Malfunction occurs. | ║ | ⇓ | Malfunction does not occur. |
| ║ |
Symptom Simulation P. IN-18
|
||
| ⇓ | ⇓ | ||
|
DTC Check P. DI-3
|
|||
| Normal | ⇓ | ⇓ | Malfunction code. |
|
Basic Inspection P. DI-3
|
DTC Chart P. DI-14
|
||
| ║ | ⇓ | ║ | |
| ║ |
Matrix Chart of Problem Symptom Table P. DI-24
|
║ | |
| ⇓ | ⇓ | ⇓ | ⇓ |
|
Parts Inspection
|
Circuit Inspection P. DI-25
|
||
| ║ | ⇓ | ║ | |
| ║ |
Check for Intermittent Problems P. DI-3
|
║ | |
| ⇓ | ⇓ | ⇓ | |
|
Identification of Problem
⇓
Adjustment, Repair
⇓
Confirmation Test
⇓
End
|
|||
Customer problem analysis check

This guide is based on the book edition Toyota (RM502U, 1997)
Volksbibliothek, info@volksbibliothek.com
Back Next